The following guide and accompanying photographs were kindly sent in by Woodlore customer Barry Cheadle:
If anyone has ever admired Ray’s binocular strap and wondered exactly how it’s made, here is a detailed account of my journey to recreate the design.
As a boy interested in nature, my father very kindly bought me a pair of Hanimex 7×35 binoculars. I remember being fascinated by my sudden ability to see distant objects in detail, but my lasting memory was of the thin, PVC strap gradually digging into my neck and the rhythmic thumping of the metal Albatross on my chest with every step I took. Sadly, they were eventually consigned to the attic.
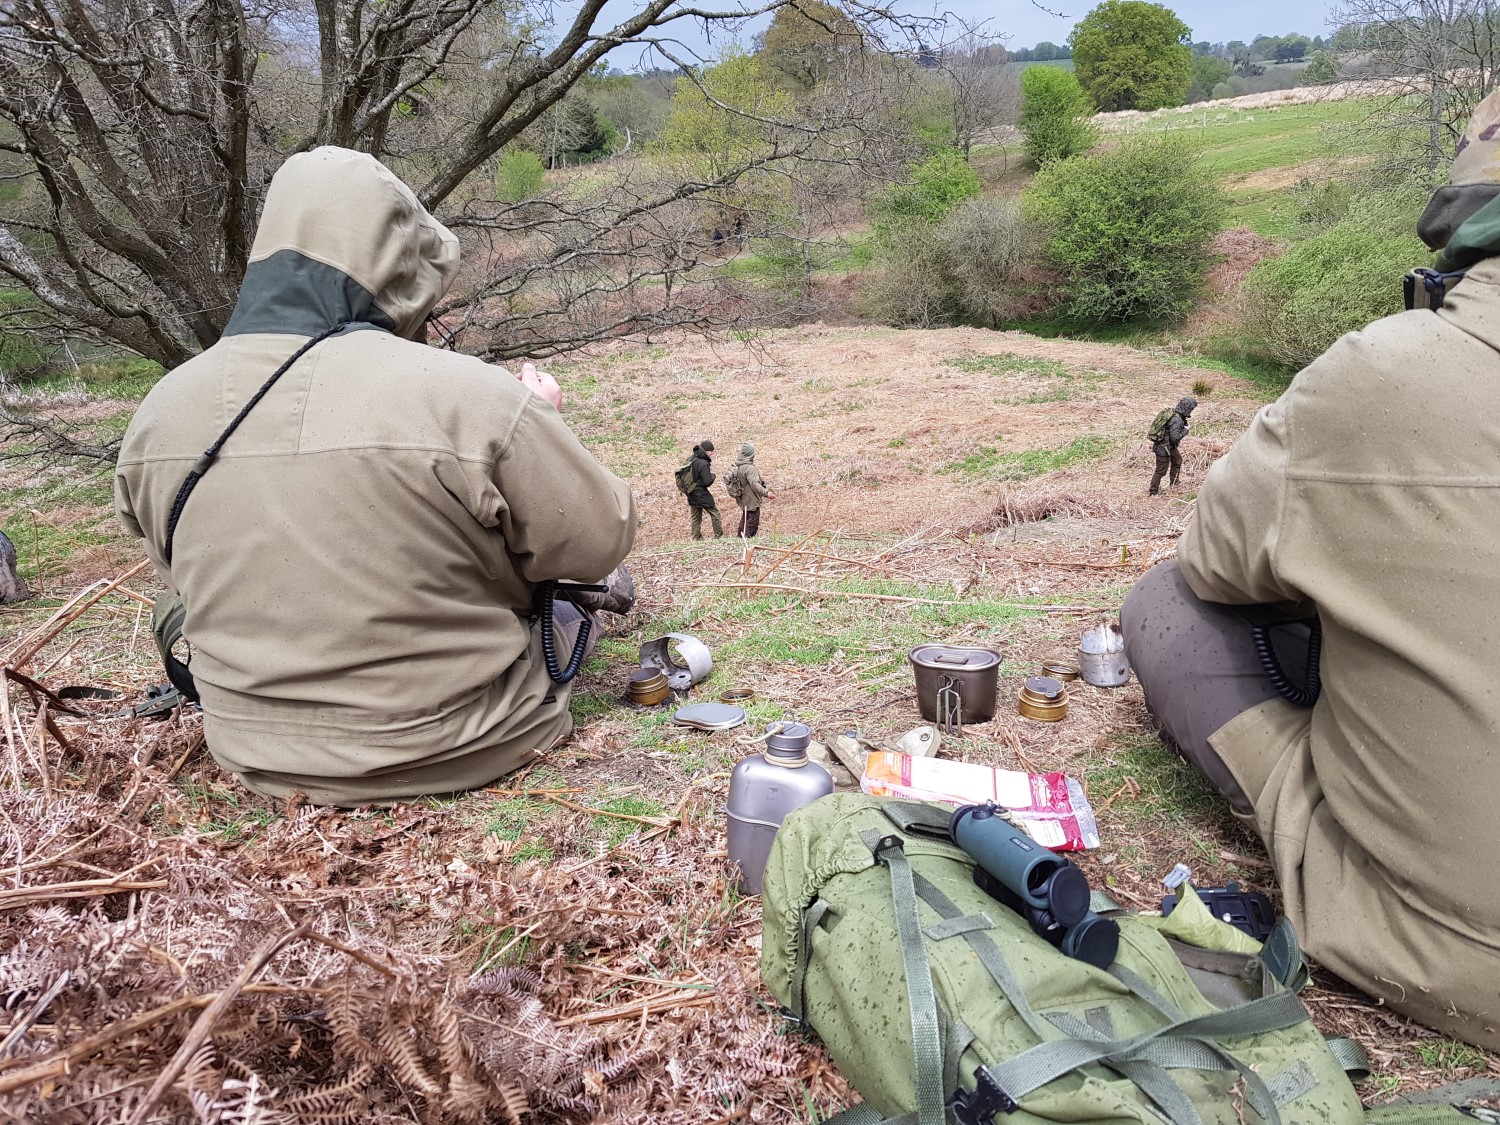
Fast forward to April 2019 and the Woodlore Tracking course with Ray Mears, one of the best experiences of my life. A particularly memorable episode was the binocular observation test, where 20 items were placed/hidden at various ranges around a taped-off section of the estate. In the first 10 minutes with eyes only, I managed to note down 6 items, with vague descriptions like “square thing next to far Oak tree.” When we switched to our binoculars, within minutes I had listed 13 in much more detail. Another memorable session was the binocular lecture when we each had a look through everyone else’s binos, including Ray’s and those of the other instructors, Dave and Tom. I had never looked through the best quality German/Austrian binoculars before and it was a complete revelation, like being given a new pair of eyes. I was very interested in the strap which Ray, Dave and Tom were using, and was told that it was a plait of paracord with the inner removed. I resolved to investigate further when I returned home.
Ray at right and Dave on the left having a break during the Woodlore Tracking course. This picture was studied in great detail for clues on binocular strap design.
When Ray’s book “We Are Nature” was published, I avidly read it and studied the section on binoculars in great detail, particularly pages 95-96 concerning carrying field glasses. My first attempt was a three strand (flat) plait which wasn’t very successful.
Mark 1 strap of 3 strand flat plait paracord (disassembled), ultimately unsuccessful.
My second attempt was with some thick paracord from an Army Surplus shop, which was remarkably comfortable and worked very well.
Mark 2 strap made from thick paracord, effective but I was determined to get closer to the original design.
However, I was determined to make a strap as close as possible to Ray’s and after much studying of photos from the Tracking course, the cordage section of Ray’s “Essential Bushcraft“, and viewing of YouTube videos, I began the process of a four strand round plait. Knots and plaiting have never come easy to me but the first stage, removing the inner core of the paracord leaving just the outer sheath, was simple enough. However, it hadn’t occurred to me that the paracord would “shrink” as I plaited it, so the mark 3 strap was only suitable for Action Man binoculars! Through a lot of trial and error, I eventually learned that the optimum length for the two pieces of paracord is approximately 11 feet. After a few mishaps when I forgot the correct order, I eventually acquired the plaiting technique, staring fixedly at the cords, murmuring
“Left, round the back of the middle two, over the top, right, round the back of the middle two, over the top…..”
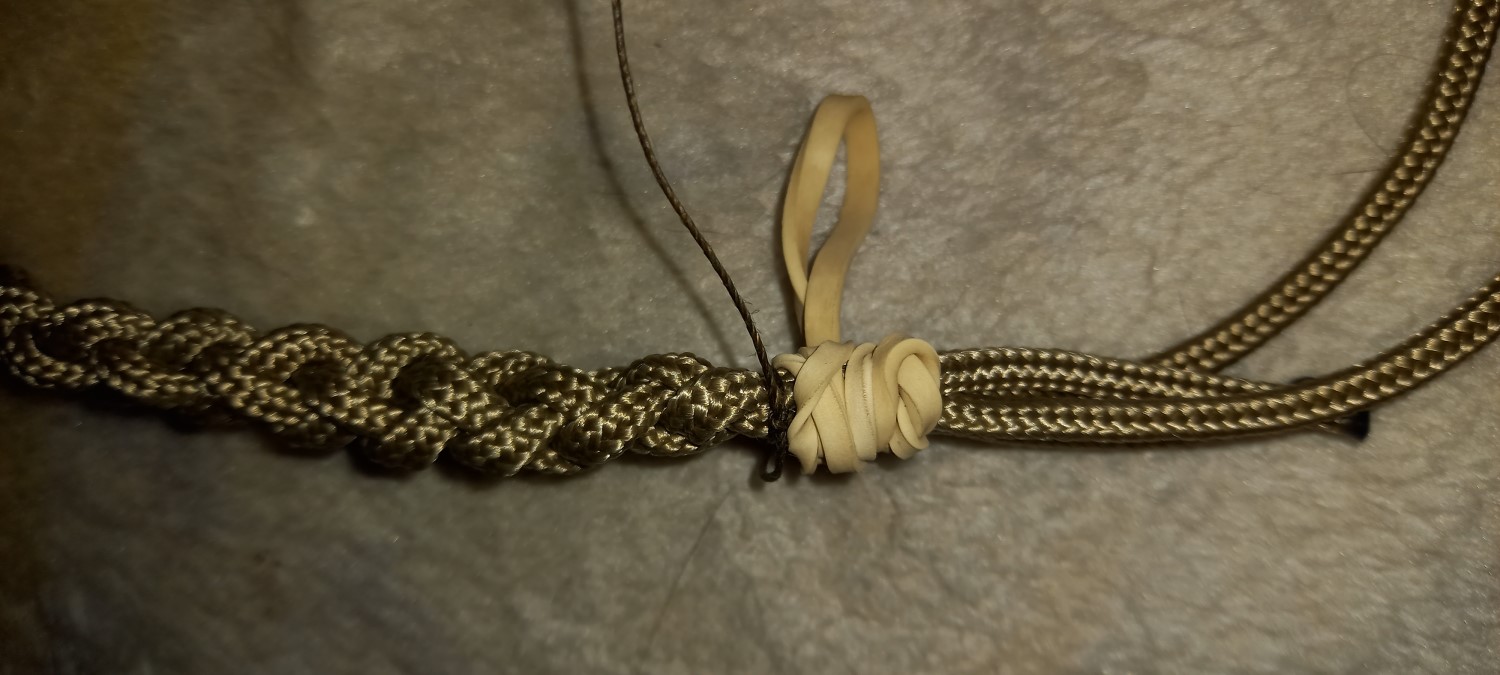
until I reached the end and could quickly wrap it with an elastic band to stop any unravelling. Binding the open end with strong darning thread, trimming the ends to the same length and heat-sealing with a lighter was next.
The 4 strand plait formed with “raw” end lashed with an elastic band. Beginning the permanent lashing with strong darning thread.
The next challenge was forming the sliding loops to adjust the length. Initial experiments used friction alone but this proved unsatisfactory, resulting in binding. I eventually settled on a short length of 1″ wide elastic stitched into the ends of the strap. (By this time I had become a regular at the local sewing shop!) As you can imagine, with expensive binoculars, I took great care to ensure that the stitching was strong. When making things, remember that
“It’s either right forever, or wrong forever.”
With the “smooth” end of the strap there’s no danger of snagging during adjustment, but the “raw” end of the strap must be finished off, which is the reason for heat-sealing the ends to stop any fraying, and binding tightly with very strong darning thread. The next step was to pass the elastic back around the strap to form the loop, again being meticulous with the stitching to ensure security. The amount of tension on the elastic is critical – too much and the strap is stiff to adjust, too little and the strap lengthens under the weight of the binoculars. My method was to put the required amount of tension on the elastic between finger and thumb and carefully stitch it while maintaining the tension. The excess elastic was then trimmed off and carefully heat-sealed, the final step being to cut and fit a piece of fabric tape to protect the elastic and stitching.
Loop formed by passing the elastic back over the standing end and sewing over the original stitches.
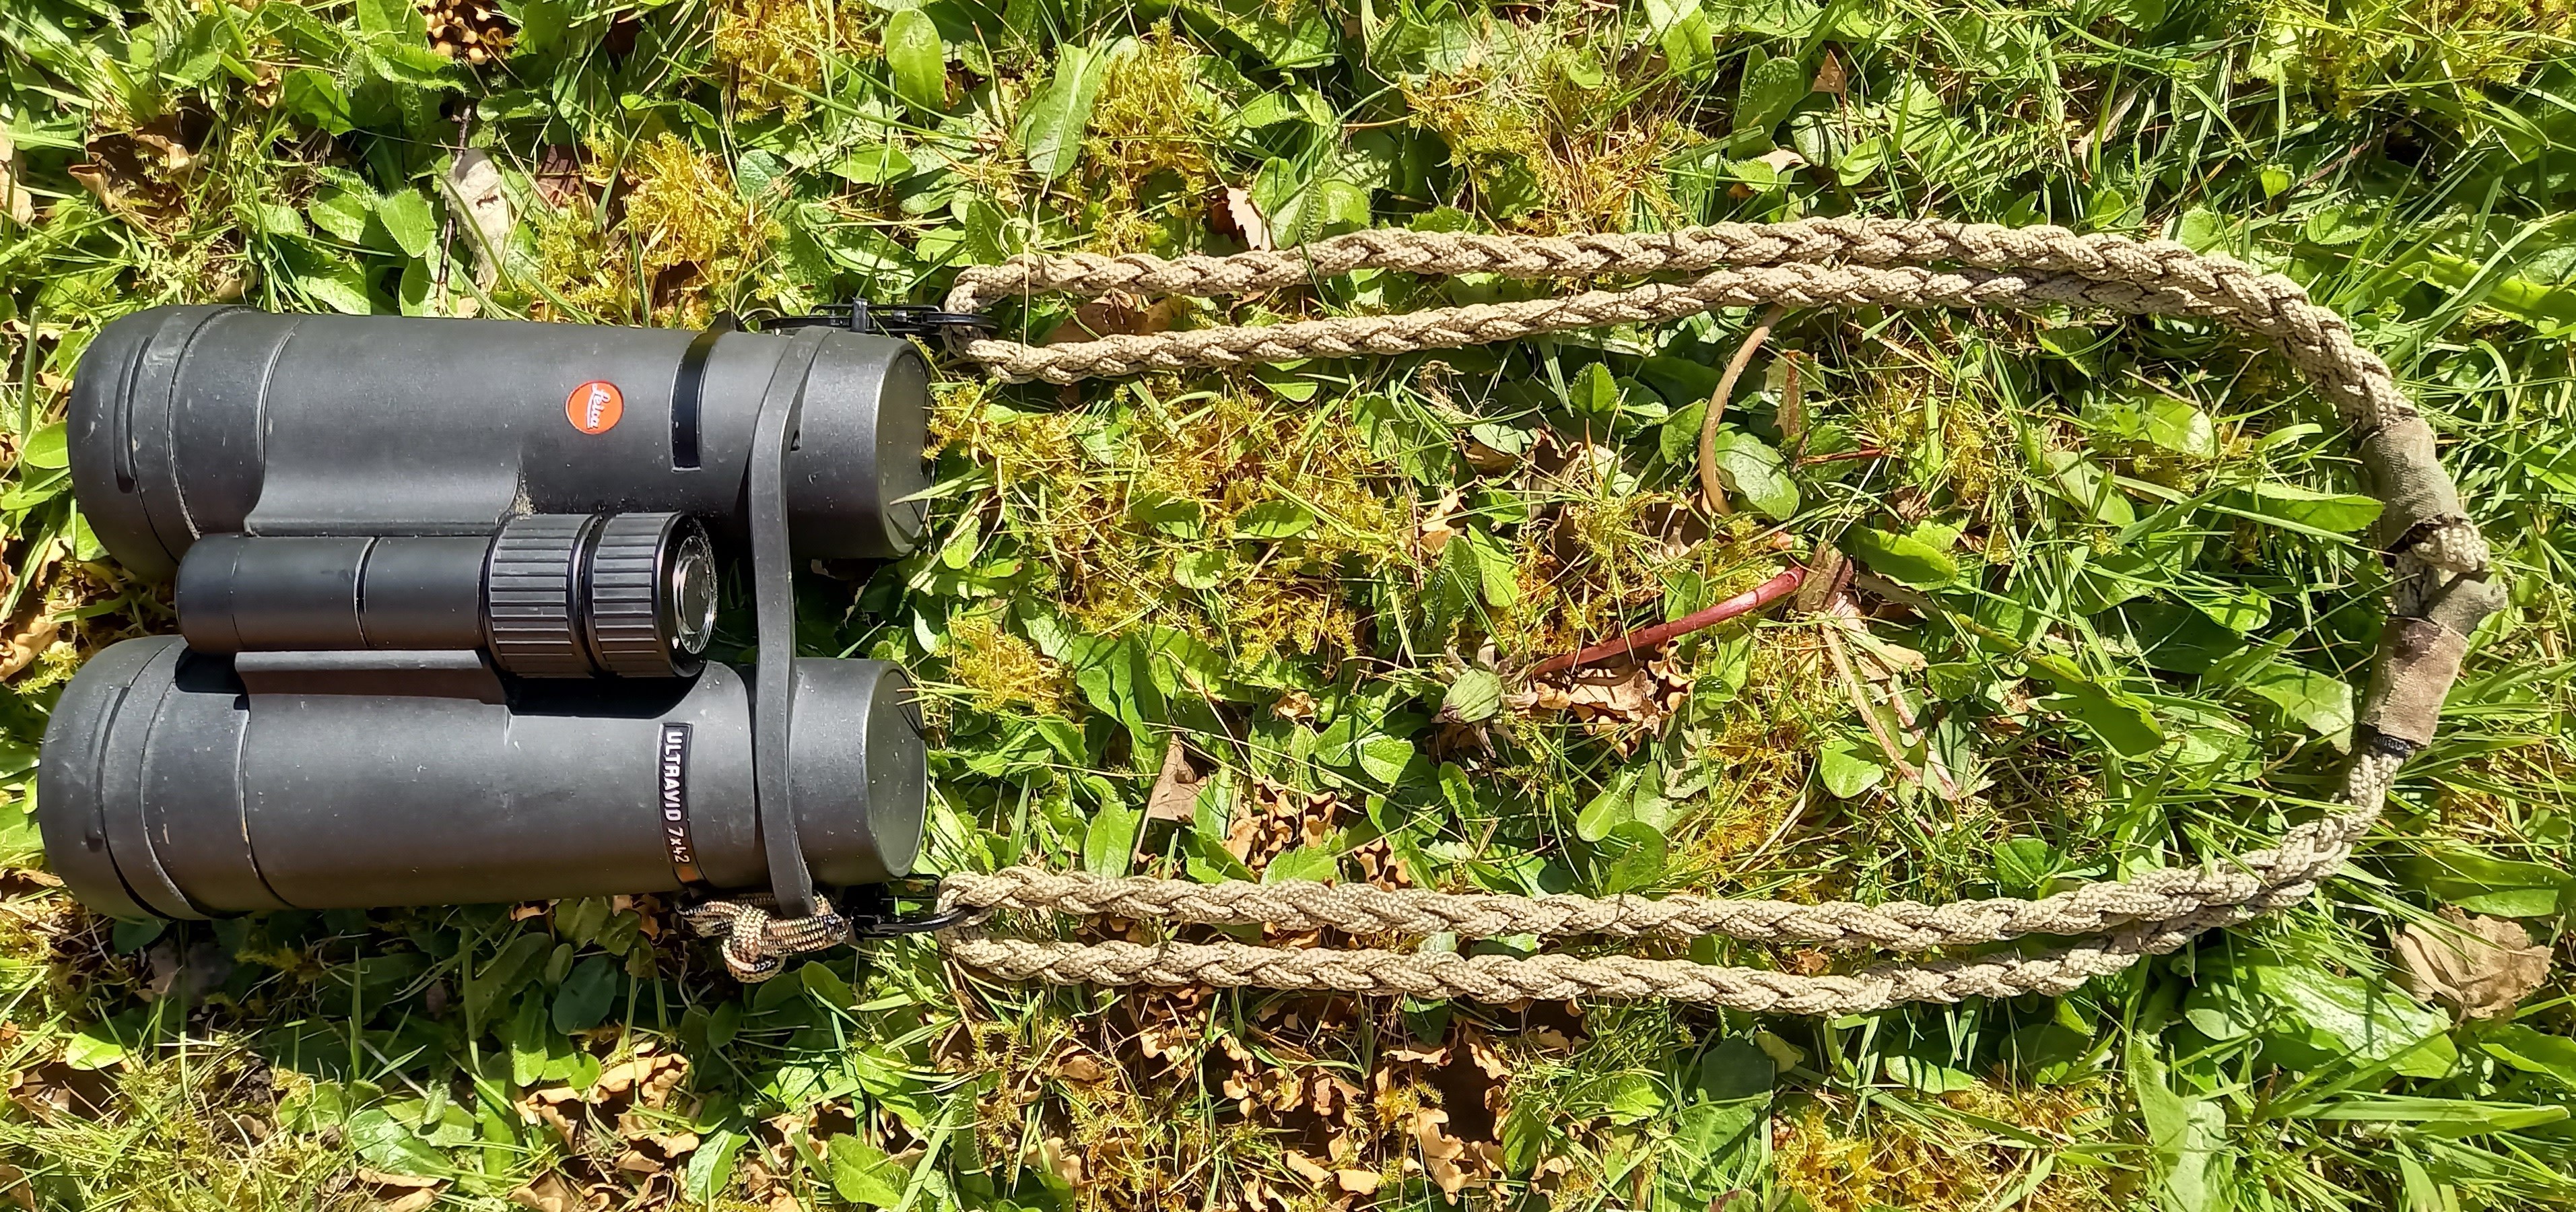
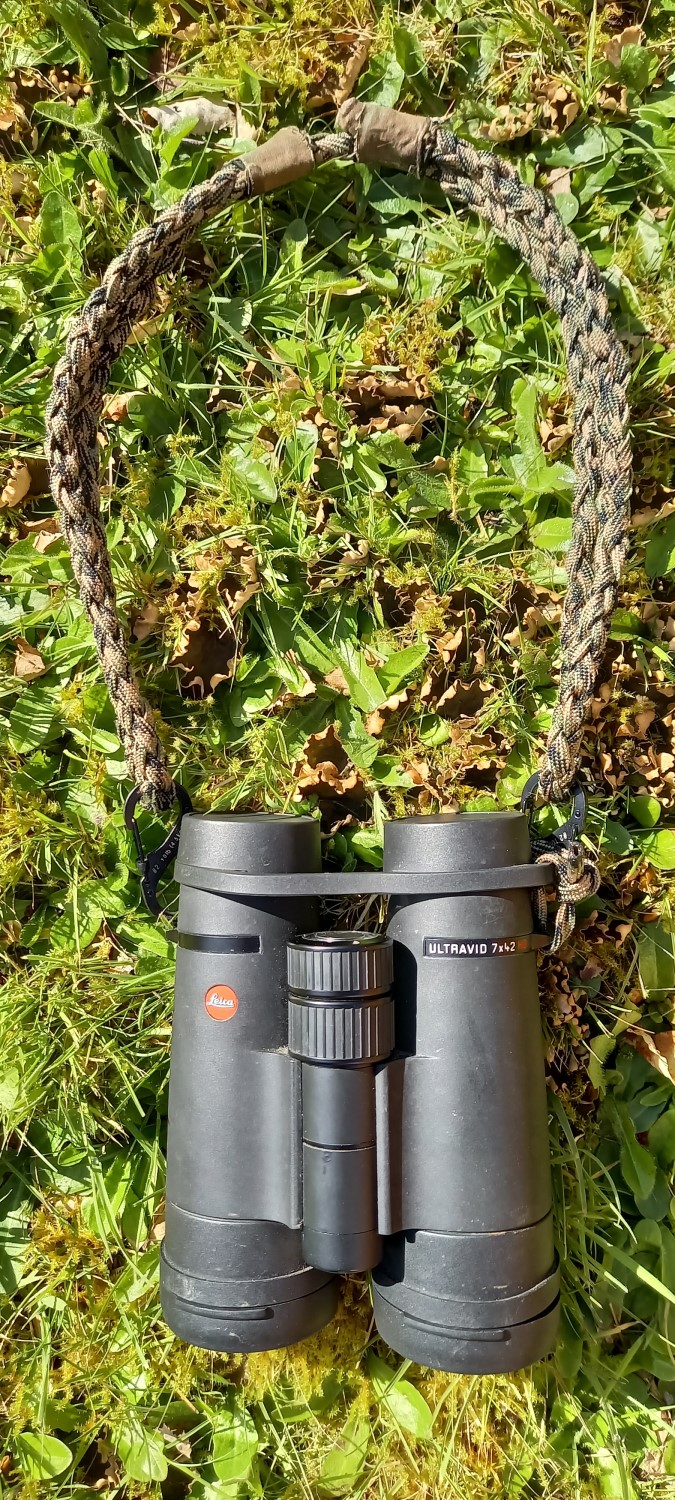
Now came the tricky bit, attaching the strap to the binoculars. I initially tried the 3lb breaking strain mini-carabiners but found that they weren’t quite wide enough for the strap, so the next size up (10lb breaking strain) proved ideal. In theory, the carabiner could clip directly on to the binocular frame, but the risk of damage seemed too great, so a visit to Allcock’s, the local angling and gunshop, produced some stainless spilt rings with a 10kg breaking strain. To avoid damage, the strap mounting points on the binoculars were carefully protected with masking tape, and the split rings carefully eased on. (I would recommend a plastic spoon/knife for this in case of a slip). It was then just a matter of removing the masking tape, clipping the carabiners onto the split rings and trying the strap out. Initial testing was slightly disappointing as the strap had a tendency to twist slightly and the newness of the plait made it feel quite “bumpy.” However, after a year or more of constant use, I’m happy to say that it’s now smoothed out and is a joy to use. On the shortest setting, the binoculars sit just above the breastbone, and on the longest setting, they’re level with the navel. They are, of course, infinitely adjustable within that range. It’s a matter of a few seconds to go from the shortest to the longest setting, which makes putting your left arm through the strap simple. When carrying something with both hands, a favourite party trick is to casually lengthen the strap and flip the binoculars around my back in a few seconds. It takes a few seconds longer to shorten it, but not much longer. My preferred carry is the shortest setting. You’re aware of something around your neck but it’s certainly not off-putting and it’s even possible to jog short distances without damage to yourself or the binoculars. From being a torment in my youth, my binoculars are now virtually constant companions, to the extent that in the outdoors, I don’t feel fully dressed without them.
My well-used strap in camouflage paracord on the shortest setting.